How to Get Character AI on Discord

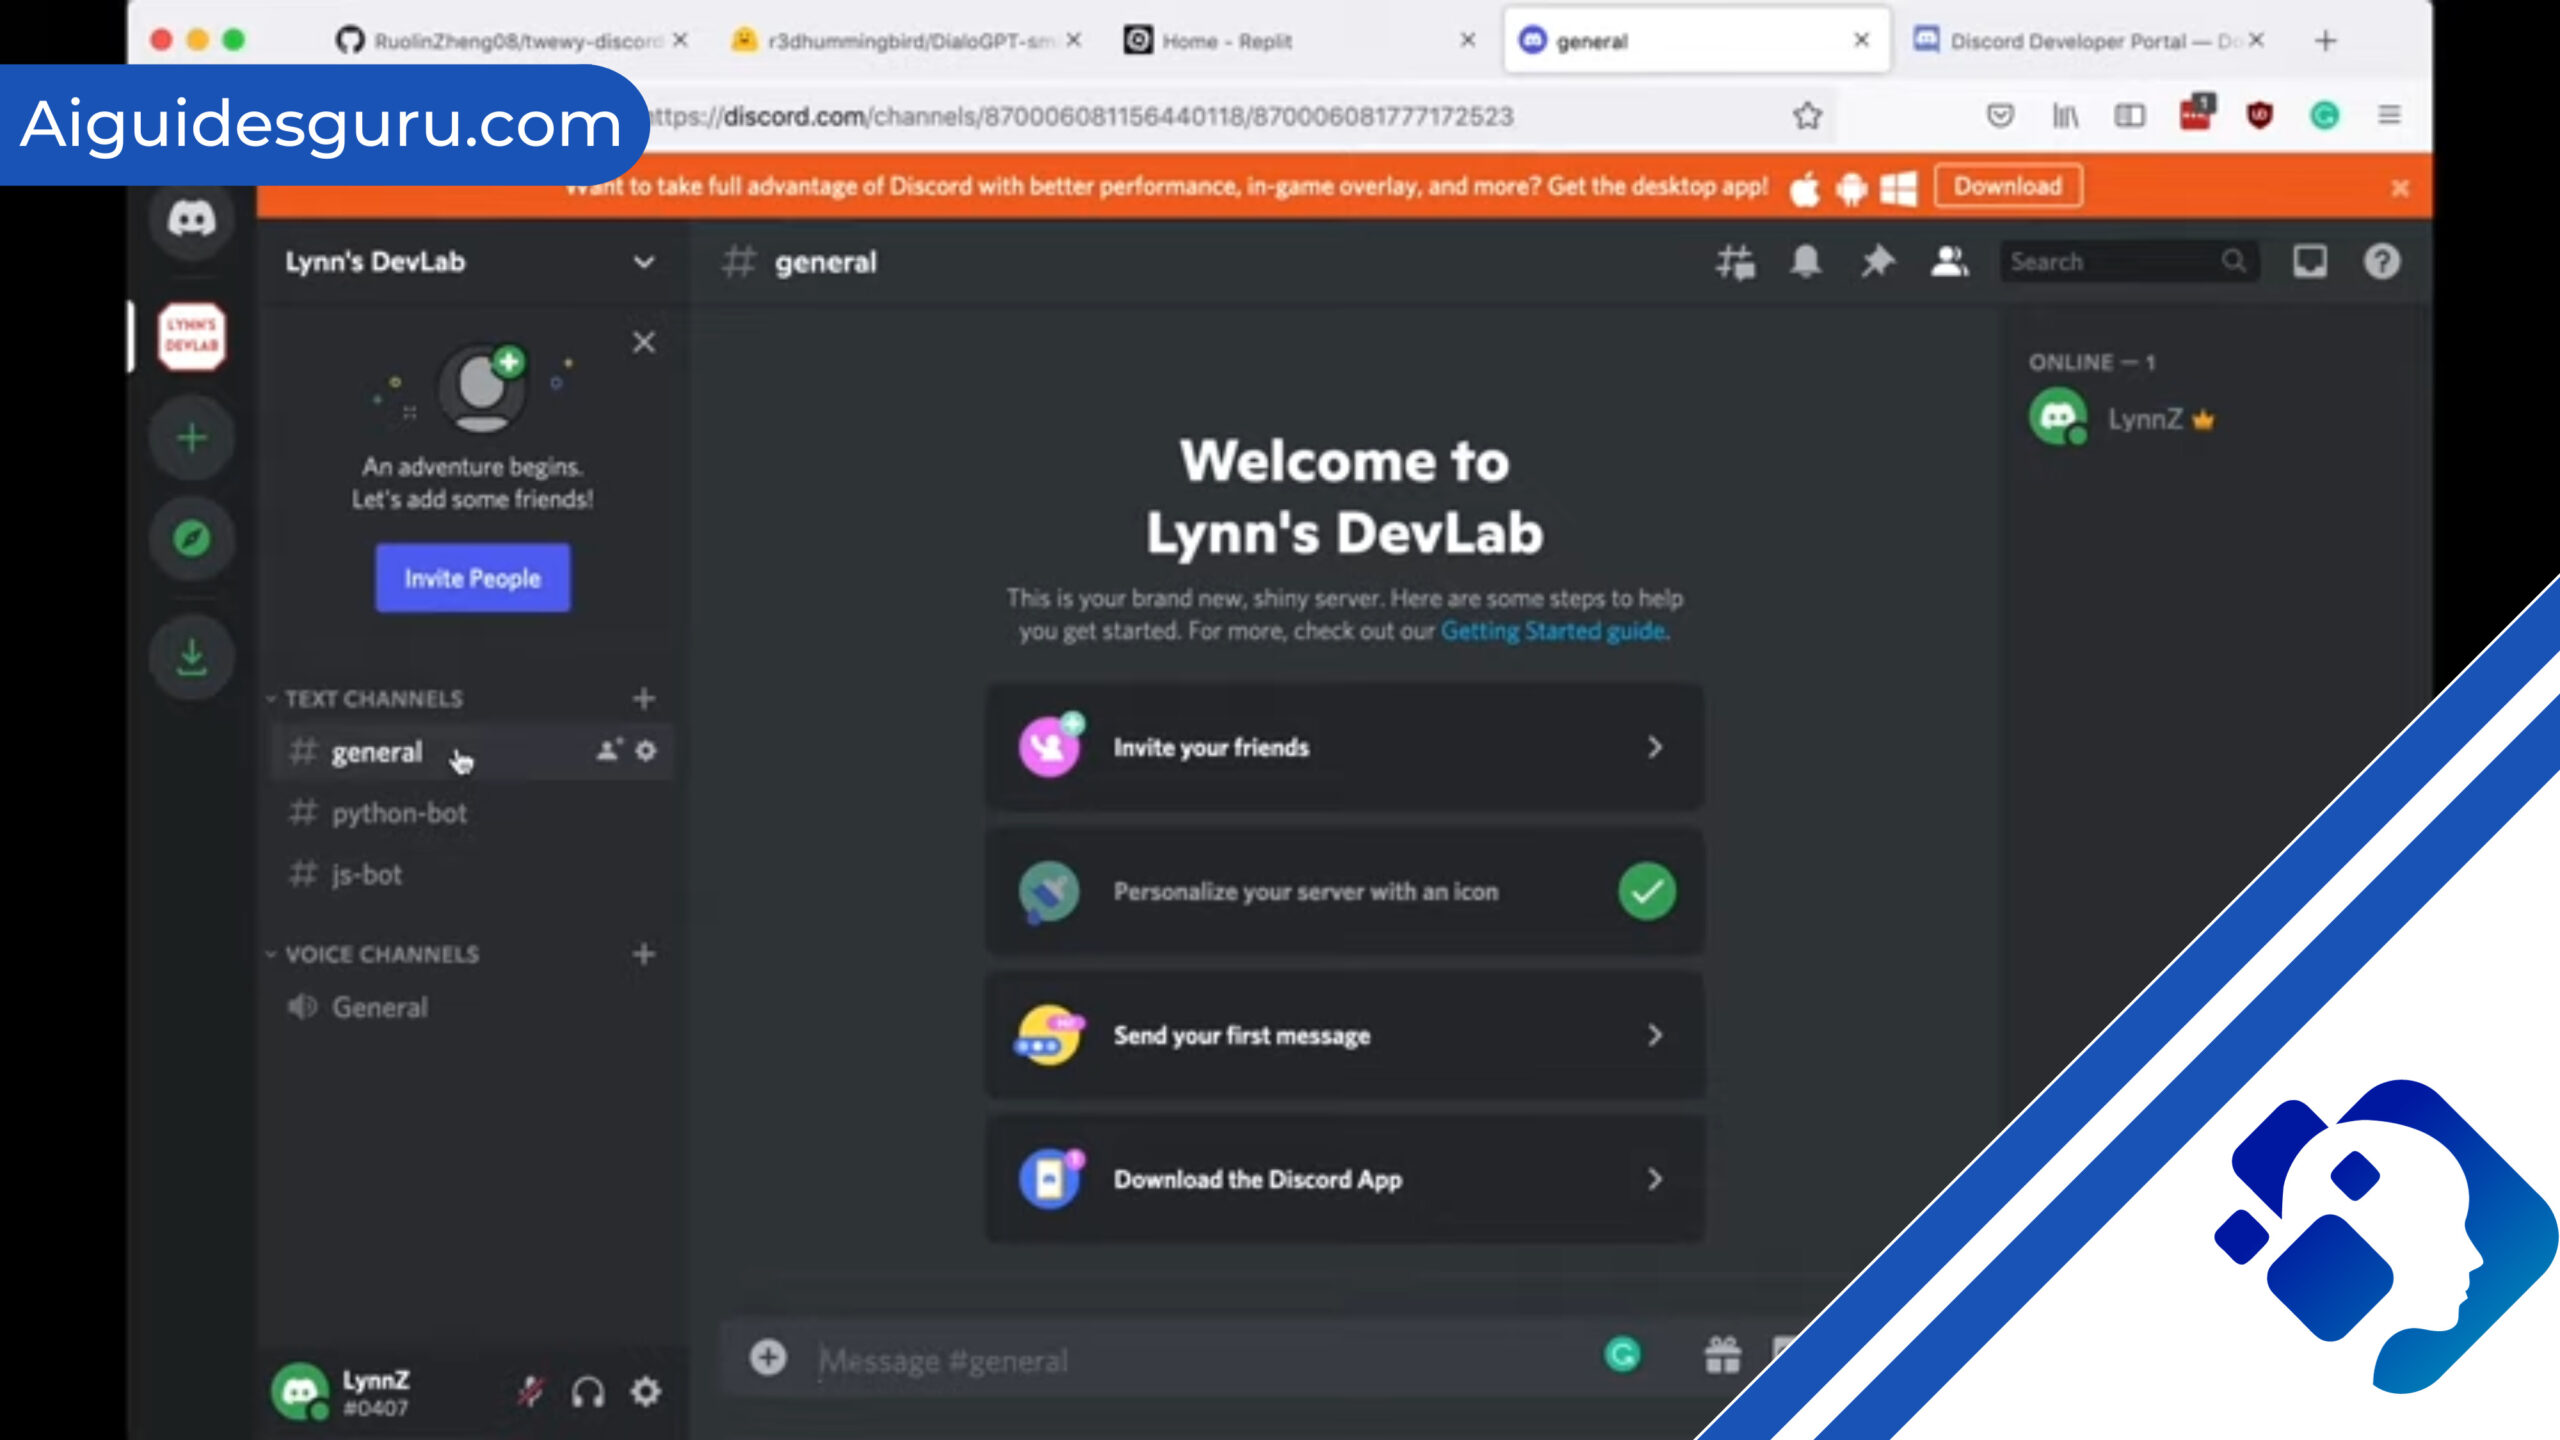
Discord has become a popular platform for communities to come together and interact. It offers various features that enhance the user experience, and one such feature is the ability to add AI bots to your Discord server. These bots can impersonate different characters and bring a whole new level of entertainment to your server. In this guide, we will explore how you can get character AI on Discord and create your very own AI bot.
Requirements for Getting Character AI on Discord
- Requirements for Getting Character AI on Discord
- Step 1: Create a New Discord Bot Application
- Step 2: Enable Privileged Intents
- Step 3: Link Discord Account in Autocode
- Step 4: Set Up Autocode Endpoint
- Step 5: Code Setup and Prompt Creation
- Step 6: Request Chat Completion from OpenAI
- Step 7: Send the Bot’s Response to Discord
- Step 8: Store Messages for Future Interactions
- Step 9: Customize and Expand Your Character AI Bot
- Conclusion
- FAQs
Before we dive into the process of getting character AI on Discord, there are a few requirements that you need to fulfill. Here’s what you’ll need:
- Discord Account and Bot Application: If you don’t already have a Discord account, create one. It’s recommended to create a new bot application for character AI bots, even if you have other custom Discord bots built.
- OpenAI Account for Chat Interaction: OpenAI provides the machine learning capabilities required for character AI bots. Sign up for an OpenAI account to access their chat interaction services.
- Autocode Account: Autocode is a platform that allows you to build and deploy Discord bots easily. Sign up for an Autocode account to simplify the bot creation process.
- Fictional Character: Choose a fictional character from your favorite TV shows, video games, or movies. This character will be impersonated by your AI bot on Discord.
Now that you have everything you need, let’s proceed with the step-by-step process of getting character AI on Discord.
Step 1: Create a New Discord Bot Application
To begin, head to the Discord Developer Portal and create a new application. Click on the “New Application” button in the top right corner. Give your bot a name, such as “Super Mario” for example, and accept the terms. Once you’ve created the application, set the username to “Super Mario” and add a fun description. You can also set the avatar to an image of the character you’ve chosen.
Related: How to Train GPT4 All
Step 2: Enable Privileged Intents
To ensure the smooth functioning of your AI bot, you’ll need to enable privileged intents. Go to the “Bot” tab in your application settings and enable privileged intents. Save the changes, as these intents are required for the Discord trigger we’ll be using later.
Step 3: Link Discord Account in Autocode
Now, let’s move on to setting up Autocode. On the Autocode dashboard, click on the “New Web Service” button and give your project a name. Once the project is created, click on the “Link” button in the left sidebar. Choose “Discord” from the dropdown menu and follow the instructions to link your Discord account to Autocode.
You’ll need to provide the client ID and client secret token of your bot, which can be found in the Discord Developer Portal. Once you’ve entered the credentials, click “Next step” and follow the instructions to add your bot’s token. Click “Finish linking” to complete the process and authorize your bot.
Step 4: Set Up Autocode Endpoint
In Autocode, every endpoint in the functions folder represents a trigger that can be activated by a specific event. For our character AI bot, we’ll use the bot_mention event, which triggers the code every time someone mentions our bot.
To set up the endpoint, click on the event trigger button and select “Discord” as the source and “bot_mention” as the trigger. Save the trigger, and now we can start writing the code for our AI bot.
Step 5: Code Setup and Prompt Creation
Before we start writing the prompt for our AI bot, let’s set up some initial code. Replace the existing code in the bot_mention.js file with the following:
// Initial code setup
const completionResponse = await utils.openai.complete({
  /* OpenAI completion parameters */
});

// Store new messages for future use
const chatHistory = await utils.kv.get('chatHistory', []);
const messageObject = {
  user: /* User message */,
  bot: /* Bot response */,
};
chatHistory.push(messageObject);
await utils.kv.set('chatHistory', chatHistory, { ttl: 600 });
This code sets up the initial structure and variables for our AI bot. We then use the OpenAI completion API to get the response from the AI model. The chatHistory is used to store the conversation history between the user and the bot.
Next, let’s create a meaningful prompt for your chosen character persona. The prompt is an array of messages that make up the conversation between the user and the AI bot. It consists of a system message, user messages, and assistant messages. Here’s an example structure:
const messages = [
  { role: 'system', content: /* System message */ },
  { role: 'user', content: /* User message */ },
  { role: 'assistant', content: /* Assistant message */ },
];
In the system message, provide information about the AI bot’s goals and the character it’s impersonating. The user and assistant messages can be used to provide context for the conversation. Experiment with different prompts to get the desired response from the AI model.
Step 6: Request Chat Completion from OpenAI
Once you have your prompt set up, it’s time to request a chat completion from OpenAI. Use the OpenAI completion API to send your prompt and receive the response. Here’s an example code snippet:
const completionResponse = await utils.openai.complete({
  model: 'gpt-4.0',
  messages: messages,
  max_tokens: 1024,
  temperature: 0.5,
  presence_penalty: 0.25,
  frequency_penalty: 0.1,
});
In this example, we’re using the gpt-4.0 model, but you can choose the model that suits your needs. Adjust the parameters like temperature, presence_penalty, and frequency_penalty to control the creativity and behavior of the AI bot’s responses.
Related: How to Use ChatGPT API with Python
Step 7: Send the Bot’s Response to Discord
Once you receive the response from OpenAI, you can send it back to Discord. Update the acknowledgementMessage to include the AI bot’s response:
acknowledgementMessage.content = completionResponse.choices[0].message.content;
This will update the message sent by the bot to include the response generated by the AI model.
Step 8: Store Messages for Future Interactions
To ensure continuity in the conversation, store the user and bot messages in the chatHistory array. Use the utils.kv.set() function to update the stored chat history value. Here’s an example code snippet:
chatHistory.push({ user: /* User message */, bot: /* Bot response */ });
await utils.kv.set('chatHistory', chatHistory, { ttl: 600 });
This will allow the bot to refer to previous messages and maintain context in future interactions.
Step 9: Customize and Expand Your Character AI Bot
Congratulations! You have successfully set up a character AI bot on your Discord server. Now it’s time to customize and expand your bot’s capabilities. You can explore different ways to enhance your bot’s persona, add more responses, and make it more interactive. Experiment with different prompts, adjust the AI model’s parameters, and iterate on the code to create the desired character AI experience for your Discord community.
Conclusion
Adding character AI to your Discord server can bring a new level of engagement and entertainment. By following the steps outlined in this guide, you can create your very own AI bot that impersonates a fictional character. Remember to experiment with different prompts, fine-tune the AI model’s parameters, and continuously improve your bot’s responses. Have fun exploring the possibilities of character AI on Discord!
FAQs
- Can I use any fictional character for my AI bot? Absolutely! You can choose any fictional character from your favorite TV shows, video games, or movies.
- Do I need coding skills to create a character AI bot on Discord? While some coding knowledge is helpful, platforms like Autocode simplify the bot creation process and provide a user-friendly interface.
- Can I teach my character AI bot new things? Yes! You can continuously expand and customize your character AI bot by adding new prompts and responses.
- What are the advantages of having a character AI bot on Discord? Character AI bots can enhance the entertainment value of your Discord server, engage users in interactive conversations, and create a unique user experience.
- Are there any limitations to the AI model’s responses? The AI model’s responses are generated based on the provided prompts and can sometimes produce unexpected or nonsensical outputs. It’s important to experiment and fine-tune the prompts to get the desired results.
- Can I use multiple character AI bots on the same Discord server? Yes, you can have multiple character AI bots on the same Discord server by creating separate bot applications for each character.
Remember, building a character AI bot is a creative process, so feel free to experiment and iterate on your bot to make it truly unique and engaging for your Discord community.
Happy bot building!


